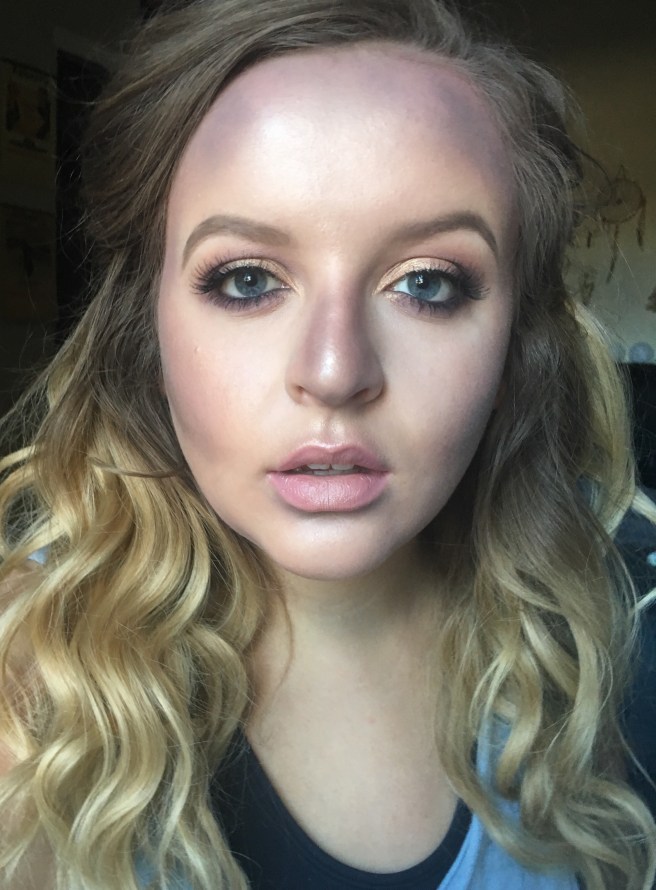
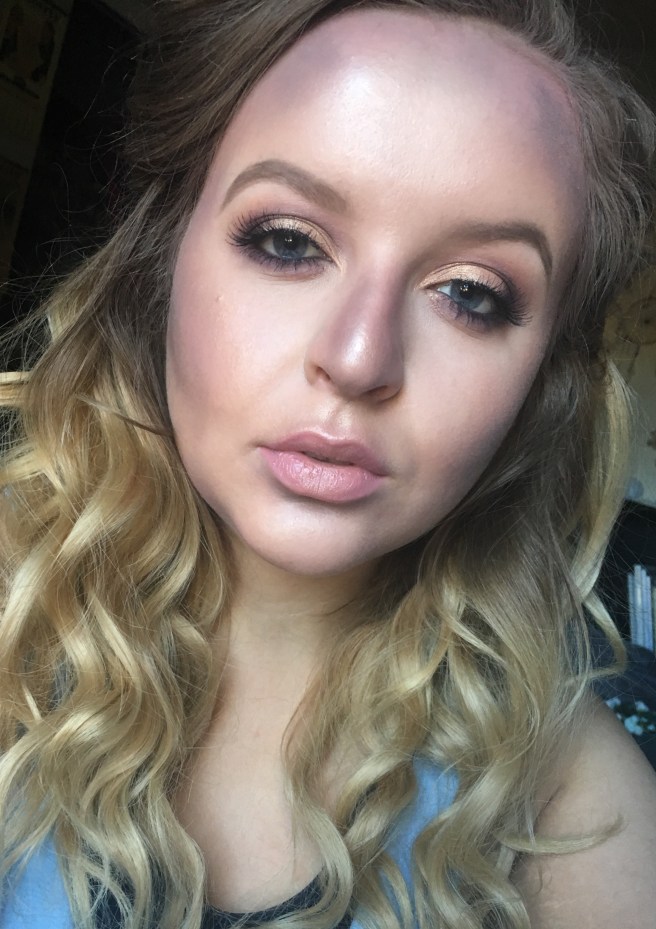
For this look I was picturing a woodland fairy. I wanted it to look ethereal and kind of other worldly. This look is crazy easy and so sultry!
products used:
make up for ever step 1 primer – nourishing
becca shimmering skin perfector – opal
loreal pro glow foundation – 202
urban decay naked skin concealer – fair
laura mercies secret brightening powder – 01
lorac mega pro palette 2
mac eyeshadow – humid
milani rose blush – tea rose
anastasia beverly hills dipbrow pomade – taupe
anastasia beverly hills clear brow gel
cantecaille gel liner pencil – violet damask
mac gigiblack mascara – black
ardell lashes – wispie
duo brush on lash glue
nyx lip liner pencil – pale pink
too faced melted lipstick – melted peony
step 1: prime – I primed my skin with MUF nourishing primer to hydrate and plump my skin. I then smoothed becca skin perfector on top to create an intense glow coming through my foundation.
step 2: foundation – I applied loreal pro glow all over my face to have an even base and an ethereal glow.
step 3: concealer – I concealed my dark circles, primed my eyelids, and highlighted my chin, cupids bow, bridge of nose, and forehead with UD naked skin concealer.
step 4: powder – I set my under eye concealer with laura mercies secret brightening powder.
step 5: shadow – I started the eyeshadow look by blending lorac melon and lavender all throughout the crease. I took a slightly smaller brush and applied goji in the lower crease and outer v of my eye. I packed purple in the outer corner and blended it into the lower crease area as well. I blended purple underneath the lower lash line as well. I finally packed gold leaf onto the inner 2/3 of the lid.

step 6: liner – I applied chantecaille violet damask in my water line for an extra purple pop.
step 7: mascara – mac gigiblack mascara is my go to for darkening my lashes before falsies because it still looks natural enough to blend with lashes.
step 8: false lashes – I used ardell wispie lashes for a fluttery lash look. I like the duo brush on lash glue because it is so easy to apply it evenly on the lash band without a mess. I let it dry for about 30 seconds before actually putting them on my eyes so that they are tacky enough. I press them against my real lashes with tweezers so that you can’t see a distinction line.
step 9: brows – I filled in my brows with abh taupe dipbrow and abh clear brow gel.
step 10: coloring – I used a stippling brush to blend mac humid, lorac purple, and milani tea rose blush around the contours of my face.I used humid and purple to create really strong contour. I blended it all together with tea rose until I had a really pink and purple halo effect.
step 11: lips – I lined my lips and filled them in with nyx pale pink liner. I then applied too faced melted peony lipstick.
here’s the completed look again:

I am providing pictures of some of the products so that you can find similar products and colors in your own collections! These are just the products I use but you can substitute in anything really and still look fierce. If any of you recreate these looks please tag me in them so I can see all your beautiful faces!! Ill be back tomorrow with another halloween look. Don’t forget to check back!
love & lipstick kisses💋

Reblogged this on mherrera1.
LikeLike