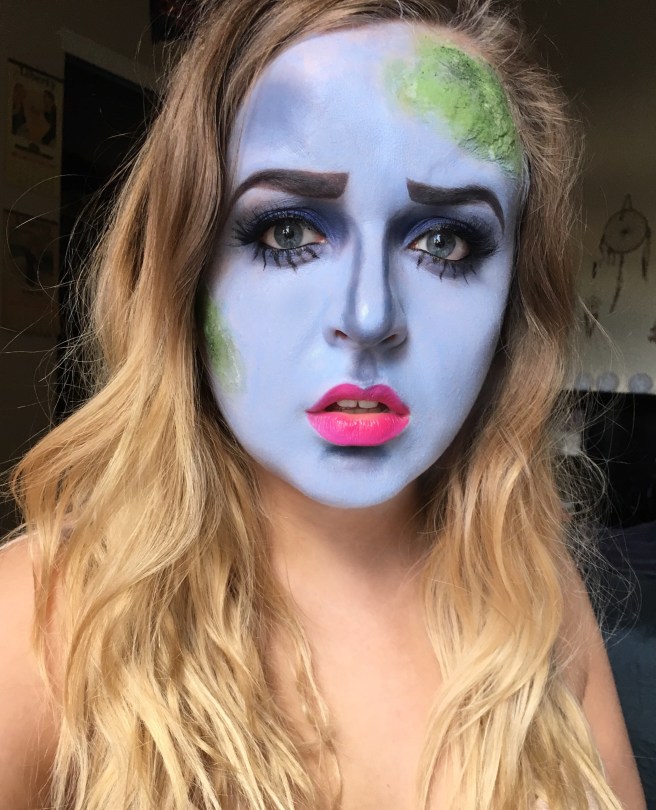
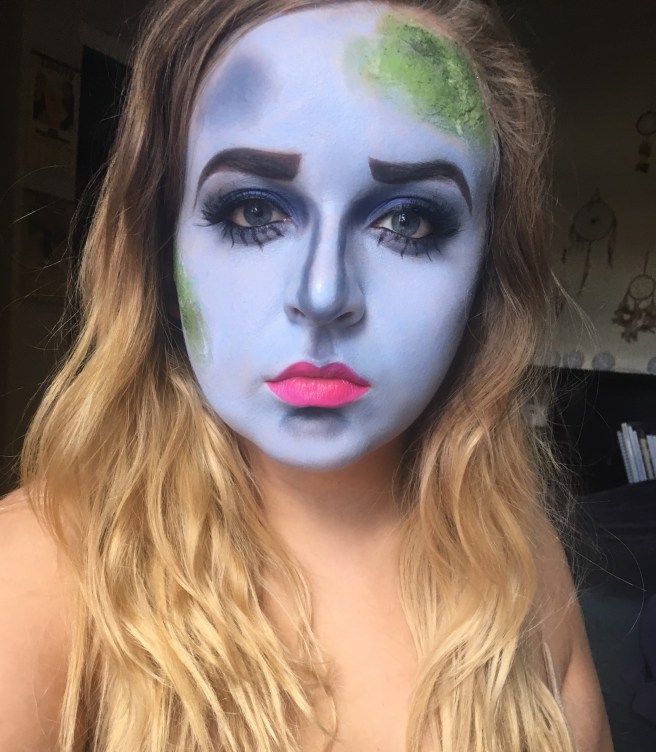
Hello loves! Todays look was inspired by a picture I saw on instagram of animated version of a corpse bride. I believe the original look is somewhat inspired by the Tim Burton movie. Obviously it doesn’t exactly look like the movie character and is much more colorful but I think its a fun look for halloween and I love the way it turned out!
products used:
nivea mens post shave balm
make up for ever flash palette
lorac mega pro 2 palette – purple
makeup geek shadows – neptune, espresso, corrupt
anastasia beverly hills shadow – star cobalt
anastasia beverly hills waterproof creme color – jet
mac gigiblack mascara
ardell lashes – 251
duo brush on lash glue
maybelline color sensational vivids – vivid rose
step 1: prime – I applied nivea shave balm to ensure smooth foundation and long lasting base.
step 2: foundation – I mixed the white and blue from the MUF flash palette to create the blue base. I used a beauty sponge to apply the color all over my face. I mixed a tiny bit of black into the original color to create a darker blue and tapped that on the sides of my nose, my cupids bow, chin, left cheek, and right side of my forehead.
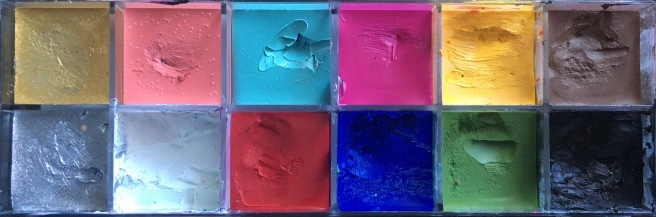
step 3: liquid latex – I laid down a little liquid latex and layered cotton on top and then a final layer of liquid latex to create a rough kind of rotting texture. I then applied the green color from the muf flash palette on top.
step 4: shadow – I set the darker areas around my face with purple. I blended mug neptune all over my eyelids and through my lower crease. It wasn’t quite dark enough for me so I packed star cobalt all over my lid as well.
step 5: liner – I created a wing with abh jet. I lined my waterline and created ‘lashes’ under my lower lash line using abh jet as well. I set all the liner with mug corrupt.
step 6: mascara – mac gigiblack mascara is my go to for darkening my lashes before falsies because it still looks natural enough to blend with lashes.
step 7: false lashes – I used ardell 251 lashes. I like the duo brush on lash glue because it is so easy to apply it evenly on the lash band without a mess. I let it dry for about 30 seconds before actually putting them on my eyes so that they are tacky enough. I press them against my real lashes with tweezers so that you can’t see a distinction line.
step 8: lips – I used vivid rose to create a really bright rosy lip.
here’s the completed look again:

I am providing pictures of some of the products so that you can find similar products and colors in your own collections! These are just the products I use but you can substitute in anything really and still look fierce. If any of you recreate these looks please tag me in them so I can see all your beautiful faces!! Ill be back tomorrow with another halloween look. Don’t forget to check back!
love & lipstick kisses💋

Oh my god I love love love this!! Love all things Tim burton :). Loved this post xoxo my latest post 💕
LikeLiked by 1 person