If you know me, then you probably know I love big cats and I love my astrological sign. I always tell my mom I am exactly like a lion (partially because of my uncontrollable mane) and so I wanted to create a crazy glitter lion look to represent us leos out there.
products used:
nivea mens post shave balm
milani conceal and perfect foundation – 02 natural
cover fx custom cover drops – moonlight
coty airspun loose powder – translucent
anastasia beverly hills contour powder – mink
anastasia beverly hills dipbrow pomade – taupe
make up for ever flash palette
ofra long lasting liquid lipstick – fifth ave
melt dark matter shadow stack
too faced shadow insurance glitter glue
violet voss loose glitter – brooklyn
ardell lashes – 202
duo brush on lash glue
michaels rhinestone
hobby lobby glitter
step 1: prime – I prepped my skin with nivea shave balm so that my foundation would go on smooth and last all day.
step 2: foundation – I mixed milani foundation with cover fx moonlight for a flawless even dewy base.
step 3: powder – I set my entire face with coty powder.
step 4: contour – I wanted a really strong unblended contour to make my face have a different shape so I used abh mink and didn’t really blend it at all.

step 5: brows – I filled in my brows using abh taupe and really feathered it out to create a hairlike effect. I went in with the black and white from the muf flash palette to create a little dimension.
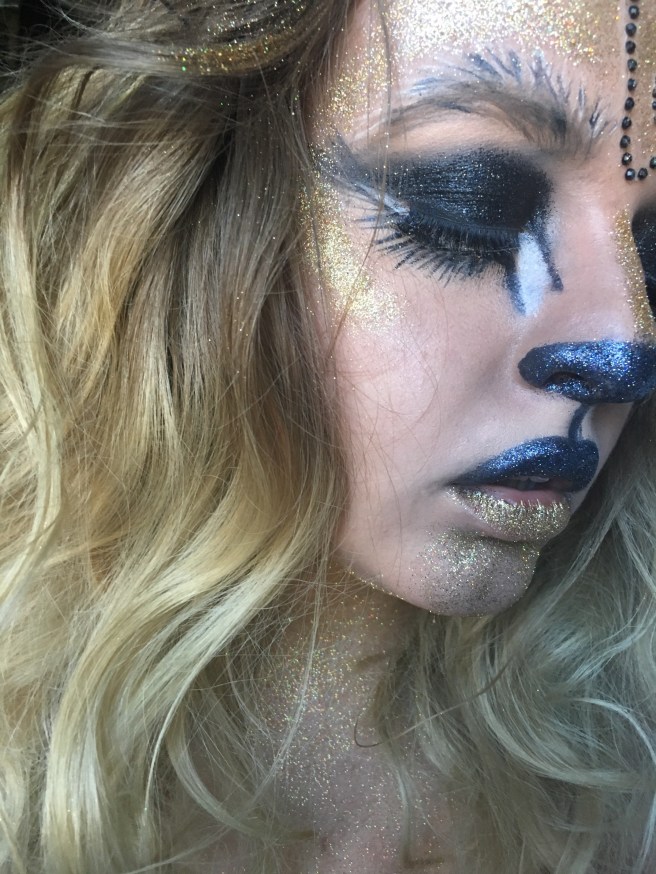
step 6: eyes – I created the outline of a defined cat eye cut crease using the black from muf flash palette. I filled in the entire area with the black as well and then set that with melt dark matter shadow. I used an angled liner brush to bring the muf black shade down low under my eyes and curved it near my inner corners from the upper and lower lash line. I used the same brush and color to create lower lashes. I then used the white from the muf flash to fill in the area in between my real lash line and the one I created using the black. I used my fingers to smooth glitter glue all over my lids and then used my ring finger to back violet voss brooklyn all over the black shading on my eyes.
step 7: mascara – mac gigiblack mascara is my go to for darkening my lashes before falsies because it still looks natural enough to blend with lashes.
step 8: false lashes – I used ardell 202 lashes. I like the duo brush on lash glue because it is so easy to apply it evenly on the lash band without a mess. I let it dry for about 30 seconds before actually putting them on my eyes so that they are tacky enough. I press them against my real lashes with tweezers so that you can’t see a distinction line.
step 9: coloring – I used the black shade from make up forever to fill in the very end of my nose and drew a line down my cupids bow to my lips. I overdrew my lips to create a more curved less angular lip and filled it completely in with the same black shade.
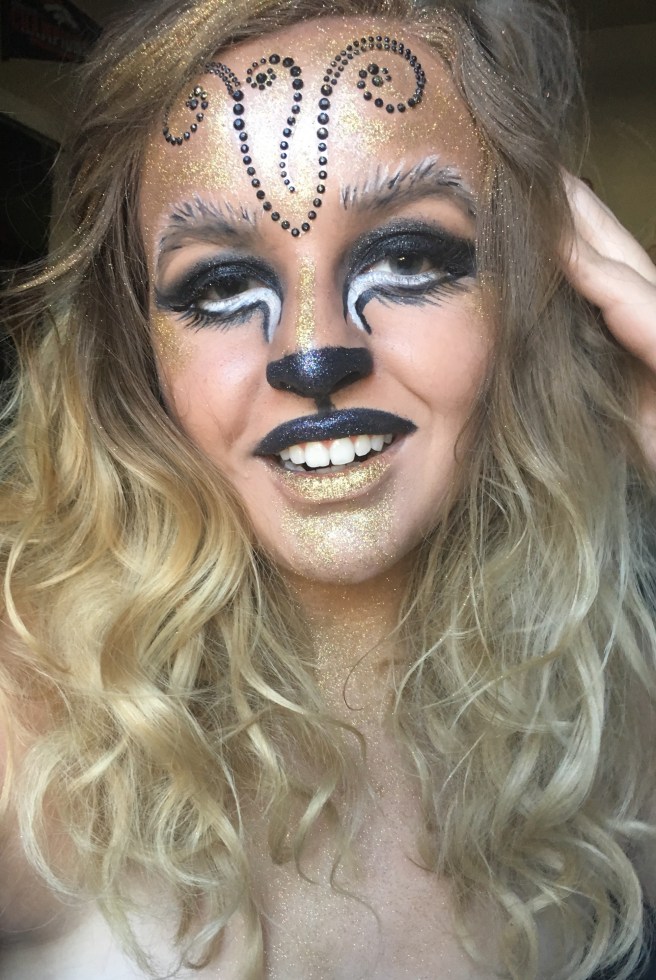
step 10: rhinestone – I bought a set of patterned black rhinestones from the scrapbooking section at michaels. I cut it to create a shape I wanted. I applied a little duo glue to the back so that it would stick better on the skin.
step 11: glitter – I put duo glue down on my forehead, tops of cheeks, bridge of nose, and center of chin. I packed a gold glitter from a hobby lobby set on top of the glue. I went section by section to ensure the glue didn’t dry before I put down the glitter. I put duo on the tip of my nose and on my lips then packed on a black glitter from the same set. I smeared elmers glue all down my neck and packed the same gold glitter on top. I sprinkled some of the glitter in my hair as well.
here’s the completed look again:


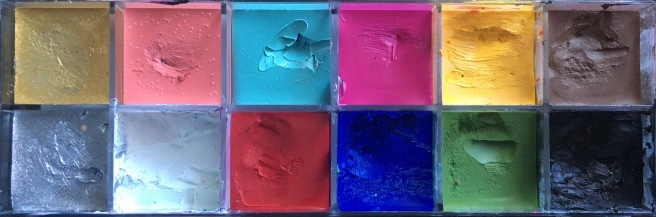
I am providing pictures of some of the products so that you can find similar products and colors in your own collections! These are just the products I use but you can substitute in anything really and still look fierce. If any of you recreate these looks please tag me in them so I can see all your beautiful faces!! Ill be back tomorrow with another halloween look. Don’t forget to check back!
love & lipstick kisses💋

Looks awesome Hun xx
LikeLike