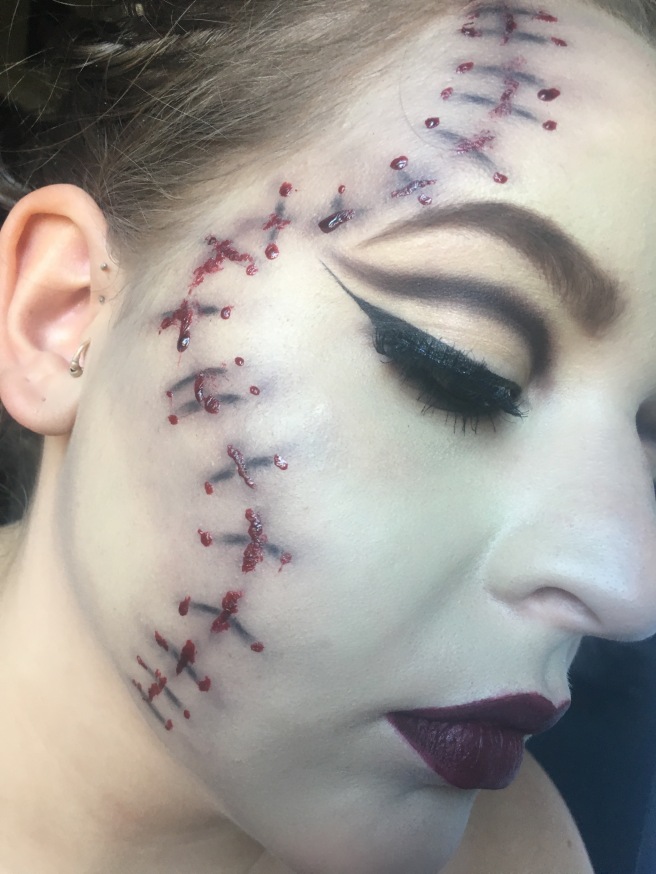
I decided to do a fun spin on the traditional bride of frankenstein look and make it super glam. This is the perfect look for anyone wanting to do something for halloween that is still sultry!
products used:
nivea mens post shave balm
josie maran vibrancy foundation – dynamic
coty airspun loose powder – translucent
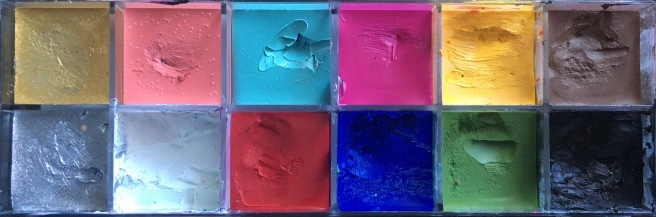
make up for ever flash palette
morphe eyeshadow palette – 35N
smashbox photo finish eye primer
urban decay eyeshadow – faint
melt dark matter shadow stack
makeup geek eyeshadow – mirage
anastasia beverly hills waterproof creme color – jet
mac gigiblack mascara – black
cinema secrets blood gel
nyx retractable lip liner – dark red
mac lipstick – diva
colourpop ultra matte lip – LAX
ardell lashes – 203
duo brush on lash glue
step 1: prime – I applied nivea mens shave balm to smooth my skin and prolong my foundation wear.
step 2: foundation – I used josie maran vibrancy foundation for a really pale foundation base.
step 3: powder – I set the whole face with coty airspun powder because the MUF flash creams will take off your foundation if you don’t set it first.
step 4: coloring – I mixed the green and white shade from the MUF flash palette to create a really light green. I used a beauty sponge to pack this color all over my face. I then took a really dark brown almost black shadow to draw the stitches down my face so that I had a guideline for when I came back to it later. I also used the deep colors from the morphe 35N to create some light bruising around my forehead and the stitches with a beauty sponge.

step 5: prime – I primed my eyes with smashbox photofinish primer.
step 6: shadow – I wanted a really dramatic black cut crease eye. I used a flat liner brush to draw where I was going to cut the crease. I then used a small smudge brush to blend melt dark matter shadow upward. I then used a clean fluffy brush to go over the whole crease and make sure it was blended. I then used makeup geek mirage on only my lid to ensure that no black was falling onto the lid.
step 7: brows – I wanted really dark brown eyebrows, so I used faint from UD naked basics palette to fill in my brows.
step 8: liner – I wanted a really dramatic winged eye look so I used abh jet to line my eyes and create a wing. When I use this product for a winged liner a put a drop of baby oil in it to make it really creamy.
step 9: mascara – mac gigiblack mascara is my go to for darkening my lashes before falsies because it still looks natural enough to blend with lashes.
step 10: false lashes -I used ardell 203 lashes. I like the duo brush on lash glue because it is so easy to apply it evenly on the lash band without a mess. I let it dry for about 30 seconds before actually putting them on my eyes so that they are tacky enough. I press them against my real lashes with tweezers so that you can’t see a distinction line.
step 11: stitches – I used the black from the morhpe 35N to go back and draw the stitch lines again and then I used a small angles brush to put blood gel on top of each little ‘stitch’
step 12: lips – I lined my lips with nyx dark red and filled it in with mac diva lipstick but that wasn’t quite dark enough for me so I applied colourpop LAX to make it more deep and brown toned.
here’s the completed look again:


I am providing pictures of some of the products so that you can find similar products and colors in your own collections! These are just the products I use but you can substitute in anything really and still look fierce. If any of you recreate these looks please tag me in them so I can see all your beautiful faces!! Ill be back tomorrow with another halloween look. Don’t forget to check back!
love & lipstick kisses💋

Reblogged this on mherrera1.
LikeLike