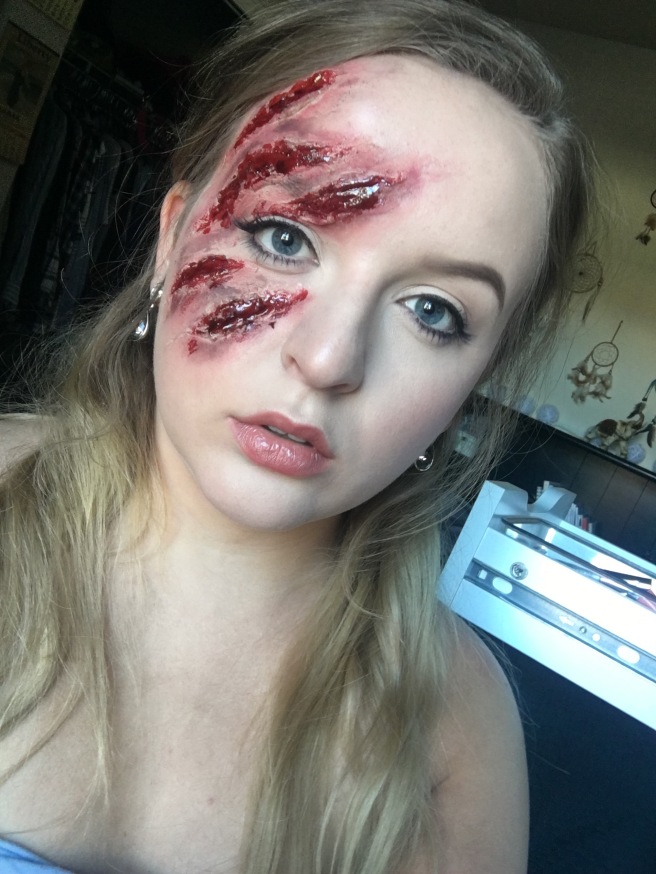
For today’s look, I was inspired by the artist Shonagh Scott’s Belle after she’s been attacked by the beast. The makeup look is super simple and really focuses on the wounds.
products used:
nivea mens shave balm
doll 10 hydra fluid foundation – light
urban decay naked skin concealer – fair
coty airspun loose powder – translucent
benefit hoola bronzer
urban decay eye shadow – faint
lorac pro palette – taupe
nyc liquid liner – black
mac gigiblack mascara – black
marc jacobs highliner gel liner – black
bobbi brown powder blush – pink rose
graftobian liquid latex
make up for ever flash palette
cinema secrets blood gel
morphe eyeshadow palette – 35N
elmers glue stick
nars satin lip – rikugien
ardell lashes – 150
duo brush on lash glue
step 1: prime – I applied nivea mens shave balm to smooth my skin and prolong my foundation wear
step 2: foundation – I used Doll 10 foundation to create a flawless porcelain doll like base.
step 3: concealer – I concealed my dark circles and primed my eyes using UD naked concealer.
step 4: powder – I packed coty loose powder under my eyes and over my eyelids. I let that sit for a few minutes before wiping off the extra to ensure that my concealer wouldn’t crease. I also lightly dusted some of the powder over the rest of my face to give it a matte look.
step 5: bronze – I used Hoola bronzer to warm up my cheeks.
step 6: blush – I applied Bobbi Brown Pink Rose to create that animated flush on the apples of my cheeks.
step 7: shadow – belle has a really light eye look so I just blended a little of lorac taupe shadow in my crease for a little dimension.
step 8: liner – I created a very faint wing on the upper lid using nyc liquid liner. I also used marc jacobs liner dotted on the lower lash line for slight definition.
step 9: mascara – mac gigiblack mascara is my go to for darkening my lashes before falsies because it still looks natural enough to blend with lashes.
step 10: brows – belle has darker more warm brown eyebrows than I do so I used urban decay faint shadow from the naked basics palette to fill in my brows.
step 11: false lashes – I used ardell 150 lashes for this look. I like the duo brush on lash glue because it is so easy to apply it evenly on the lash band without a mess. I let it dry for about 30 seconds before actually putting them on my eyes so that they are tacky enough. I press them against my real lashes with tweezers so that you can’t see a distinction line.
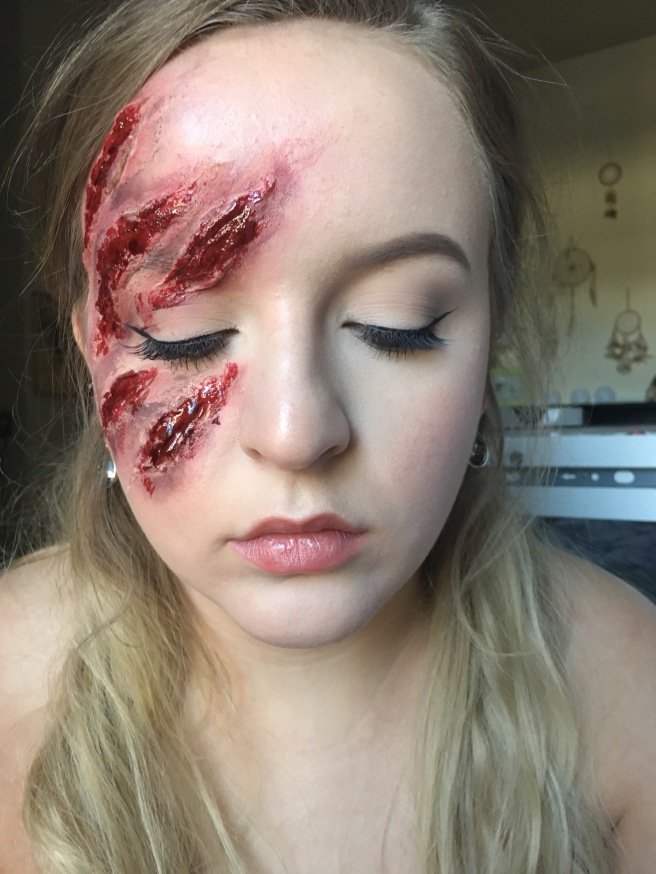
step 12: liquid latex – I used elmers glue to smooth down my right brow before applying liquid latex so I wouldn’t remove any hairs when I took the makeup off. To create a kind of scar like, open tissue texture, I paint liquid latex on the area and then stick pieces of pulled apart cotton on top. I then apply another later of liquid latex and use my fingers to pull the latex apart and move it in varying directions to create texture. If you use varying pieces of thin cotton you will already get a lot of texture.
step 13: coloring – For the beginning of the bloody look you need to lay down a base of color. I start by putting foundation over the liquid latex area so that it blend with the rest of my makeup and no white shows through. I then take a sponge and use MUF flash palette to create a red area. I mixed the red, brown and black creams to begin to darken the ‘scars’. (The only reason I have the flash palette is because of this series. It is super expensive and unless you do fx makeup is not worth it. I would just use lipsticks. Thats what I did for my look last year and it worked perfectly.) I then used a mixture of cool browns, burgundys, and reds from the morphe 35n palette to create a bruising effect. Once I got the look dark enough, I used a beauty sponge to pat on blood gel over the whole latex area until I looked just disgusting enough!

step 14: lips – belle has very soft natural pink lips so I used the Nars satin lip pencil in rikugien.
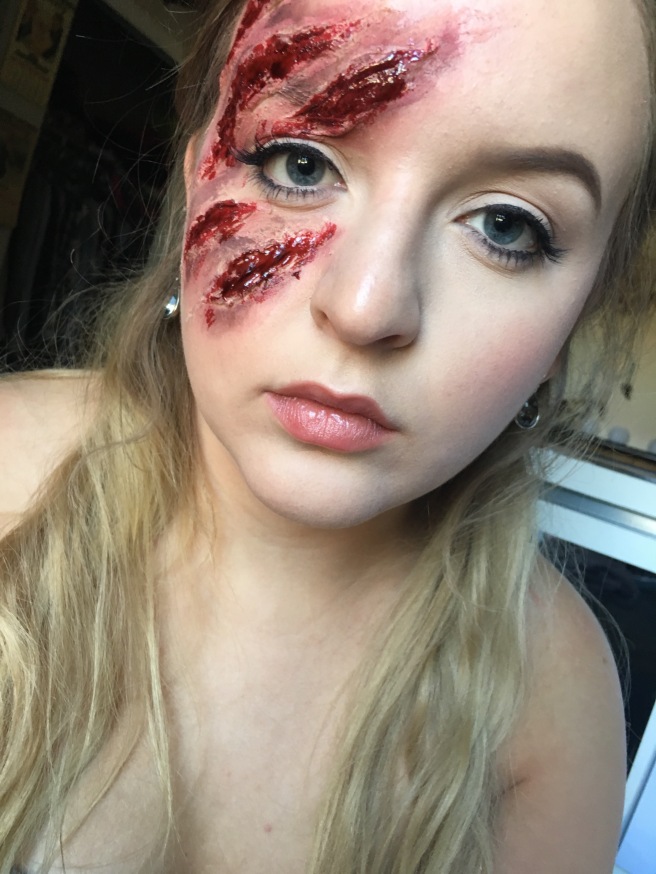
here’s the completed look again:
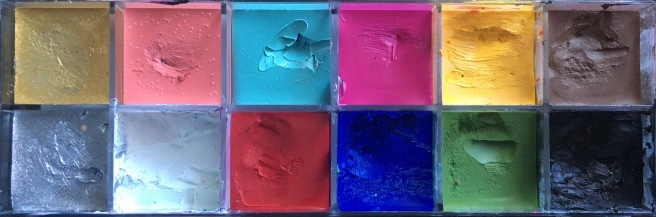
I am providing pictures of some of the products so that you can find similar products and colors in your own collections! These are just the products I use but you can substitute in anything really and still look fierce. If any of you recreate these looks please tag me in them so I can see all your beautiful faces!! Ill be back tomorrow with another halloween look. Don’t forget to check back!
love & lipstick kisses💋

Reblogged this on mherrera1.
LikeLike